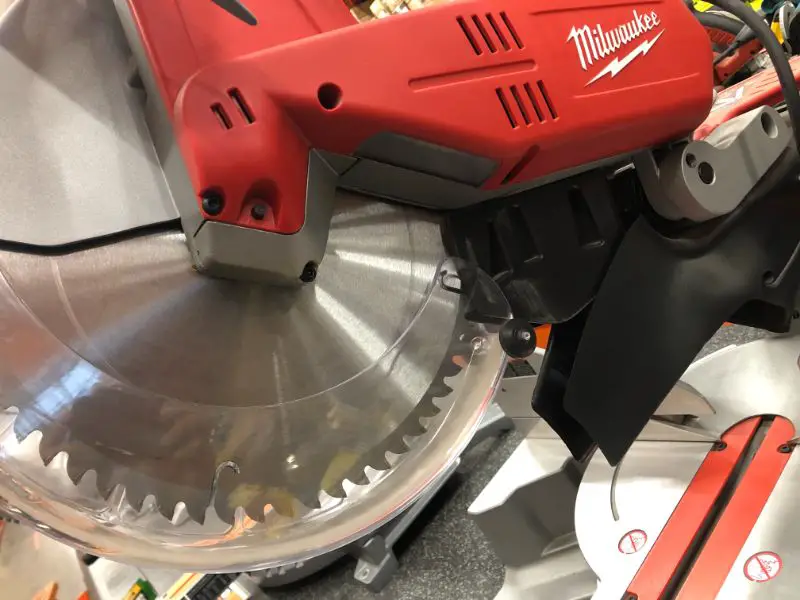
If your miter saw motor is creating smoke or shooting sparks you have a serious issue on your hands. Smoking or sparking from your miter saw requires immediate attention.
If you’re lucky, you miter saw may still be under warranty. Major brands like Dewalt offer a three year warranty on all their miter saws.
Fortunately, this is a problem that can be fixed with a little effort and about twenty dollars.
Should you not feel comfortable opening the internals of your miter saw, you may get better peace of mind by replacing the miter saw all together.
There’s no need to keep a tool that is showing blatant signs of being a fire hazard. Mixing a potential fire hazard with sawdust and wood debris is a very good recipe for disaster.
Play it safe when your miter saw begins to spark or smoke. Check to see if your sparking miter saw is still under warranty, or continue below to find out how to fix your sparking miter saw.
Miter Saw Throwing Sparks
Sparks coming from the motor on your miter saw isn’t uncommon. This usually occurs as the miter saw ages and parts wear down. New miter saws should not spark or smoke, older miter saws can be fixed by replacing the motor, or brushes.
Miter Saw Motor Smoking
Miter saw motors are electrical-magnetic style motors. Sparking or smoke can be expected after a certain point in a miter saws lifespan. Sparking occurs where the brushes meet the commutator bar inside the miter saw. Both parts are able to be fixed or replaced with little cost and effort.
Miter Saw Brushes Sparking
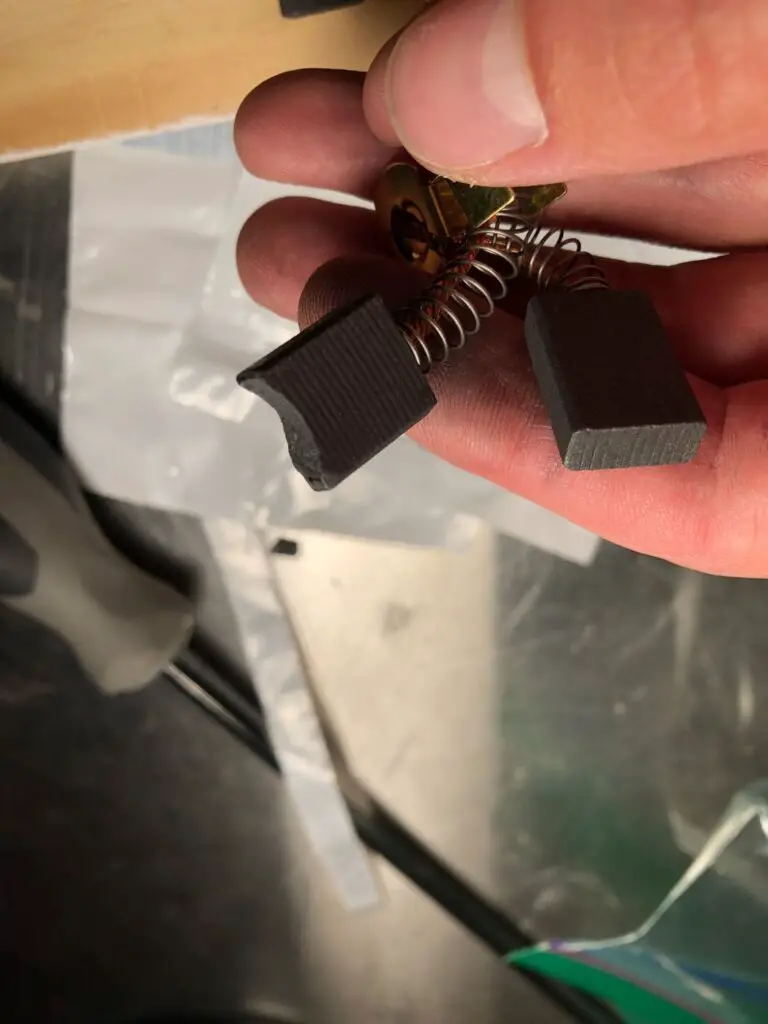
Miter saw brushes are typically carbon based magnetic blocks. Most electric motors have two brushes, one positive and one negative. These brushes, when charged, drive the armature shaft that spins the miter saw blade. Over time these brushes wear down and require replacing to perform optimally.
What Causes Sparking At The Brushes
Over time the brushes (magnetic blocks) can wear down. Miter saw brushes can wear unevenly. This wear can cause a buildup of carbon on the commutator bar, causing sparks and appearing dirty. One or both of these can cause sparking at the brushes, and in extreme cases cause your miter saw to smoke.

Fixing A Miter Saw That Smokes Or Sparks
In most cases, replacing the brushes and cleaning the commutator bar will be enough to make your miter saw run like new. In more severe cases might call for new brushes and a whole new armature.
Worn brushes can also cause the electric brake on your miter saw to stop working.
Nine out of ten times only the brushes need to be replaced. This is good news, as brushes are usually cheap and easy to find with a google search of your miters saws make and model.
Replacing the armature is typically more difficult, and much more expensive than brushes alone.
My recommendation if you need to replace the armature is weigh the cost of replacement part against a brand new miter saw.
An armature, if you can even find a viable replacement, can be over a hundred dollars. It’s your choice if you want to extend its lifespan or spend a couple hundred more for a brand new saw.
Remember, if your armature is at the point where it needs replacing, other parts will also be near the end of their life cycle.
You might find yourself spending another fifty dollars here and forty dollars there and before you know it you could have caught a new saw without any problems.
Replacing The Brushes On Your Miter Saw
You can Google your brand and model of miter saw to find replacement parts. Brushes should cost you less than twenty dollars and you can replace them yourself.
You can check out my guide on miter saw brush replacement here.
How To Prevent Sparks Or Smoke From A Miter Saw
So we’ve learned that sparks and smoke is typically caused by worn brushes. Brushes will wear over time and inevitably will need to be replaced.
While there’s no avoiding eventual wear, we can certainly help slow down the process. Here’s three tips to help reduce wear on your miter saw and preserve your brushes.
First, ensure that you are using an appropriate miter saw blade for the material you are cutting. Further, ensure that this blade is clean and sharp.
This will help ensure the miter saw can effortlessly cut through the material, and will not have to struggle to make the cut.
Second, when making a cut ensure you allow the blade to reach full speed before you make contact with the material.
A fast blade cuts faster and easier. Easy cuts make for less wear.
Third, always check your blade for build up and grime. Over time sap or certain composite materials can build up on the blade and dull the blade, even though it is sharp below the crust of grime.
I hope that this guide offers you some insight into helping you solve your problem with a sparking or smoking miter saw.
Best of luck in your endeavors.

