Buffing Danish oil: Can, How and When to buff Danish Oil

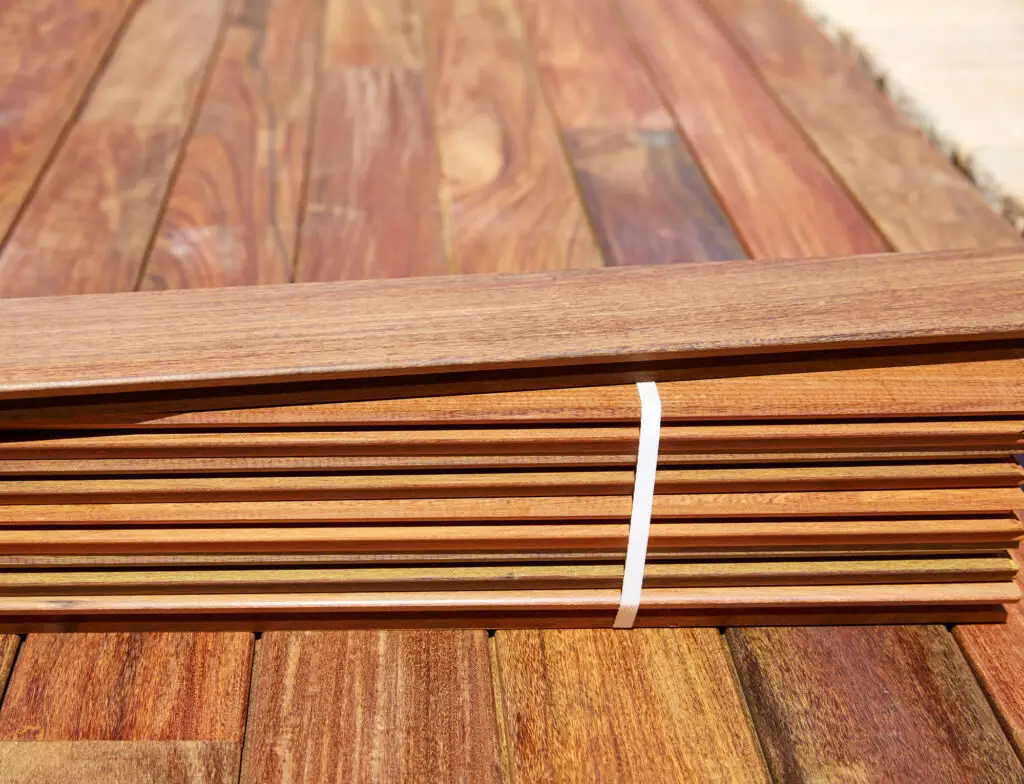
It is every woodworker’s goal to ensure that their end project looks, feels, and works nicely—no matter the purpose of the end product.. After all, the hard work would feel like it went to waste if the finished product wasn’t what you envisioned it to be! One way to be sure your wood has a great-looking finish is to apply Danish oil.

If you’ve never used Danish oil, you may be unsure of the process for application. No worries! We are here to explain exactly how to get that beautiful finish.

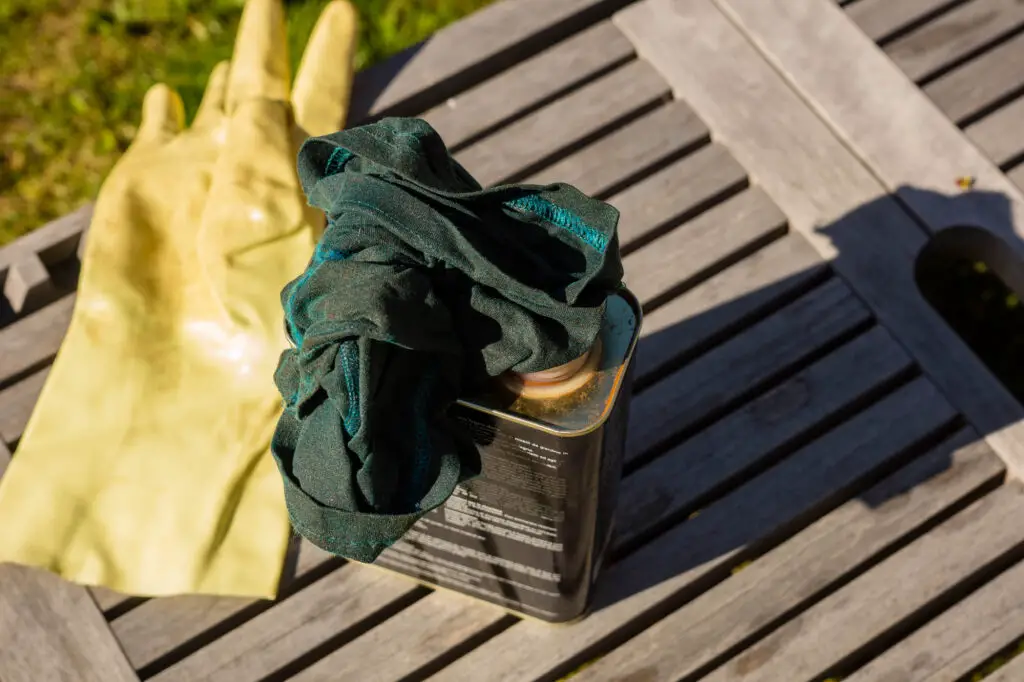
Here is a rundown of the basic application process (we will go more in-depth below) The first key to a perfect application is to use a very thin coating across the wood applied with a soft cloth. Once coated, you should allow it to rest for a few minutes before rubbing the oil in further. Then you will need to let your piece sit for at least eight hours.

Always follow manufacturer’s directions when using products like Danish oil.

How Many Coats Of Danish Oil Should I Use?

Danish oil is relatively thin, around three coats would be the optimal amount of layers to apply. However, Danish oil dries slowly, so it is best to wait at least eight hours before applying the other coats.

Additionally, it would be best to ‘wet sand’ between the second and third layers for a smoother finish. Buff Danish oil as needed

How Do You Make Danish Oil Shiny?

There are a couple of ways you can get a shiny or glossy finish with Danish oil.

For a regular gloss sheen, apply varnish or lacquer after your Danish oil coats have finished settling in. This option will likely give you the sheen you are looking for, but if you want a little extra shine, you can try adding in paste wax. Add a little bit of paste wax to your surface buffing it to a high sheen. Make sure you follow the product’s specifications for use to ensure the best outcome.

Another way to get a glossier finish is with polyurethane. Wait a few days after applying the last layer of Danish oil, then use a coat or two of polyurethane to add some glossiness. It is essential that you let the oil dry completely, or else the polyurethane will take an extensive amount of time to dry.

How Do You Remove Danish Oil From Wood?

To remove all Danish oil, scrub your workpiece with either steel wool or sanding paper. If you choose to sand, it is best to start with 60 grit to remove the bulk of it before moving to 80 or 120 to smooth the rest out. Removing it can be a tedious process, so it is better to be sure you want to use Danish oil on your wood before you start an application.

How Do I Get A Smooth Finish With Danish Oil?

When applying layers of Danish oil, lightly sand the second and third layers after they have finished drying. This will ultimately eliminate brush marks and help promote a much smoother finish.

After that you can Buff your Danish oil.

Does Danish Oil Need A Top Coat?

The Danish oil is intended to be a complete finish all by itself, though you can apply layers of gloss if you desire a different sheen.

Popular choices for gloss include polyurethane, shellac, and lacquer.

How Long Does Danish Oil Take To Cure?

After the last player is applied, it usually takes around eight to ten hours before being fully dry. If you plan to apply polyurethane or any other top layer, you should wait at least three full days. Trying to rush the process can result in an extended dry time for your top layer.

As for a complete cure, it can take up to one entire month for the Danish oil to cure underneath the surface of the wood. You can expect it to take even longer in a more humid environment!

Why Does Danish Oil Go Sticky?

There are several reasons why Danish oil can become sticky. The most common reasons:

  • misapplication
  • Not enough drying time between layers
  • Your oil is too old

When applying your Danish oil, if you use too much product you may end up with a tacky wood surface. As stated above, it is best to go with several thin layers. You also need to be sure that you are giving the layers enough time to dry before slapping on the next one. Finally, check the expiration date on your Danish oil. It is possible that your oil is too old for a great application.


Walnut Cutting Board Nut Allergy: Walnut Toxic for cutting boards?

You might be concerned about a walnut cutting board nut allergy. If you have any nut allergies, then something you may not have considered is the possibility of experiencing an allergic reaction from coming into contact with walnut wood — such as a walnut cutting board!

While it isn’t the nut itself, there are still risks from the oils within the wood. Now, you may be wondering how exactly could a person have a reaction from simply touching a piece of furniture!

For those who would like the quick answer to the question: no, it is unlikely that you would find yourself reacting to walnut wood in the context of using a cutting board (or sitting at a walnut table.) But remember, precautions should always be taken when allergies are concerned. That being said, cases of allergic reactions from walnut wood are mostly unheard of. On the other hand, wood finished with walnut oil might cause problems. This is especially true if it is freshly applied or not appropriately cured.

It is always possible that those allergic to eating walnuts may have a mild reaction when consuming food prepared on a surface made out of walnut wood or treated with walnut oil. If you have extreme reactions, it is better to be safe than sorry and steer clear of walnut cutting boards!

Is Walnut Wood Safe for Cutting Boards?

What if you don’t have a walnut allergy? Is walnut an okay material for making cutting boards? Yes! Walnut wood is a hard wood, making it both kitchen and food safe. Also, it falls in that sweet spot of being a good wood choice for the maintenance of both your boards and your knives!

Walnut cutting boards are not only durable and long-lasting, but they also provide a small number of antimicrobial properties, stopping most bacteria from growing within cuts made on the board.

How Do I Treat a Walnut Wood Cutting Board?

The first thing you want to do is season your cutting board. Though if the supplier you purchased it from has pre-seasoned it, you can skip this step. If not, this is a necessary process that keeps your board good-looking and long-lasting.

To properly season your cutting board, you should use food-grade mineral oil, applying it evenly across all surfaces. While regular seasoning passes are done roughly once a month, you should reseason your board if you begin to notice that some spots are lighter than others.

If cut marks and slashes begin to accumulate along the board’s surface, lightly sanding it down will return the smooth feeling. Another way to further preserve your board for prolonged usage is to switch up the way you use it. Typically cut square in the middle? Try using one of the corners every once in a while. Using different sides ensures that a specific area isn’t constantly worn down.

As for storing the walnut cutting board, it is best to keep it upright in a place away from water and dust.

Can You Be Allergic to Walnut Wood?

You can be allergic to walnut wood, though not for the reasons you may expect. You may find yourself having an allergic reaction after working on a project using walnut due to the sawdust and residue on the wood.

You’re much more likely to have some form of response after inhaling any loose particles — especially if you have asthma — than you would from cutting some veggies on an adequately cured and seasoned walnut cutting board.

Precautions Needed When Working with Walnut Wood?

There is no guessing whether working with walnut wood will trigger an allergic reaction. However, there are plenty of precautions that you can take if you do have an allergy before coming into contact with the wood.

Firstly, minimize as much direct exposure to the wood as possible: wear long-sleeved clothes, gloves, face mask, and goggles.

You also need to clean your hands often and maintain a tidy workspace. Finally, keep an EpiPen by your side at all times, and it wouldn’t hurt to have someone else near you on the off chance that you do trigger an allergic reaction.

Walnut wood: Is It Toxic?

Poisons found in trees are usually located within the bark or sap but rarely inside the actual wood. When you discover toxins within the wood itself, it is typically due to the wood being pressure treated.

As for the finishes and lacquers, these can be highly toxic! It is vital that these are avoided on wood used for cooking or eating. If you have any utensils, kitchenware, or cutting boards made out of walnut, it is better to use a finish that isn’t toxic and won’t chip off and become a possible hazard. Mineral oil is always the best bet.