Miter saws are awesome tools for making precise cuts at all sorts of angles. Anyone who’s done trim work is no stranger to making all sorts of various cuts to get the job done. Having to adjust the miter saw for each specific cut can be a bit tricky, and If you slip up and are off by even a little bit you could waste your material.
This is where positive stops come into play for your miter saw. Positive stops allow you to quickly and precisely adjust your miter saw to the needed angles. When you go to adjust the miter saw from one angle and start sliding the gauge to another, you should feel it click into place when it gets to the desired angle.
That means it hit the positive stop on the miter saw. From here tighten the miter gauge should your model of miter saw need it, and you’re all set to make your cut. Having positive stops means you can switch from a straight cut to 22.5 degrees quickly, for when you need a corner cut. A quick shift back to zero and you’re back in business for straight cuts.
Most miter saws have positive stops. If your miter saw doesn’t, don’t fret, it isn’t a big deal, it’s simply a time saver. It’s a nice feature to have, but is not necessary. Your miter saw will still have a miter gauge you can use to select the desired angle of the cut you need. The only real difference is that the gauge won’t click into position instantly.
Positive stops are a nice time saver, commonly found on most miter saws these days, but are not a “must have” feature, as you’ll easily get by without them.
The positive stops on your miter saw
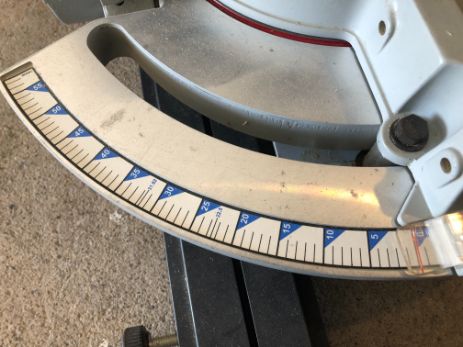
Miter saws will have a few positive stops along the mite gauge to help you easily find the right angle. Typically, a Miter saw’s miter gauge will go from zero all the way upto 45 degrees, in both directions.
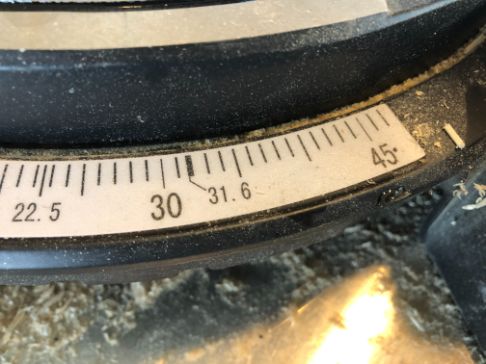
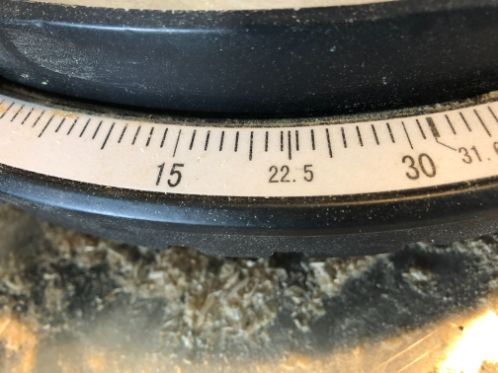
For my miter saws, my miter gauges read 0, 15, 22.5, 30, 31.6 and 45. Of course you’re able to set the gauge to any degree within that range as well, I just have positive stops at those common angles.
Positive stops never really get in the way. It is very simple to navigate to the needed angle and set up for an accurate cut. You might be wondering why some odd degrees have positive stops on the miter saw, and it’s for good reason we’ll get into below.
Why does my miter saw have a stop at 31.6 degrees?

31.6 degrees on a miter saw is the required miter gauge angle needed to cut a standard corner for crown moulding. Pairing 31.6 degrees on the miter gauge along with 33.9 degrees on your bevel gauge will set your miter saw up to make the proper cut for a 90 degree corner with crown moulding.
Why is 22.5 on a miter saw?

22.5 degrees has a positive stop on your miter saw’s miter gauge, because it is needed to cut a 45 degree angle in baseboard trim. Two cuts at 22.5 degrees will equal 45 degrees, and allow you to navigate corners when installing trim.
Cutting past 45 on your miter saw

You might need to cut less common angles, or angles that exceed the range of your saw’s miter gauge. This isn’t as uncommon or as hard to set up as you might think. A simple jig will ensure you can make accurate cuts far past 45 degrees. It is a cheap (usually free) jig to make and couldn’t be easier. Check out our guide on how to make cuts past 45 degrees on your miter saw.
Myself, I have a oversized 10 inch miter saw that has a miter gauge from zero to 55 degrees. I haven’t had the need to utilize that extra 10 degrees, but it’s a nice option to have in a pinch. Although, I’d still reccomend making a jig for cuts past 45, as a jig will help you get to 65 degree and even up to 75.

