Woodworkers of all skill levels want to ensure that the wood they are working with has been properly sanded, smoothed, and finished. This will make the final workpiece look better and function correctly lowering (or eliminating) the chances of any future problems arising.
When it comes to smoothing rough sawn timber, the short answer is that large wood slabs, often used for countertops or bar tops, are usually milled into size with saws that aren’t designed to leave a refined finish. The wood needs some work to be “countertop ready.”
Sanding will be required, but should the piece be too rough to sand straight away, a smoothing plane (or an orbital sander if a plane isn’t an option.) should be used. If the wood is too rough for a smoothing plane, use a router with a depth jig to take a small layer off the entire face of the board.
How to Properly Sand Sawn Wood
There will be more to the process when it comes to sanding unfinished wood than you may actually think. To start things off, it is advised not to use just any old type of sandpaper, as using the wrong grit will result in fine scratches dirtying up the final wood surface.
When beginning to sand unfinished wood, it is best to use medium-grit sandpaper, usually around #120 to #150 grit. After you have sanded down the rough edges, move up to a finer grit, such as #220, in order to remove any finer scratches.
Ensure that you are sanding evenly by moving along the grain of the wood smoothly. This is to prevent any inflammation or raising of the wood, which may cause future problems.
Is Wet or Dry Sanding Better?
In most cases, wet sanding is not done to shape the wood but rather to smooth down the scratches left by dry sanding. However, wet sanding can also be done if you would like to add a glossier finish to your wood in the end.
Wet sanding is a process where special sandpaper is used for sanding, with water acting as a lubricant. By making the sandpaper wet, the water can carry away any loose particles that may have gotten caught in the sandpaper, allowing an extended and efficient period of sanding.
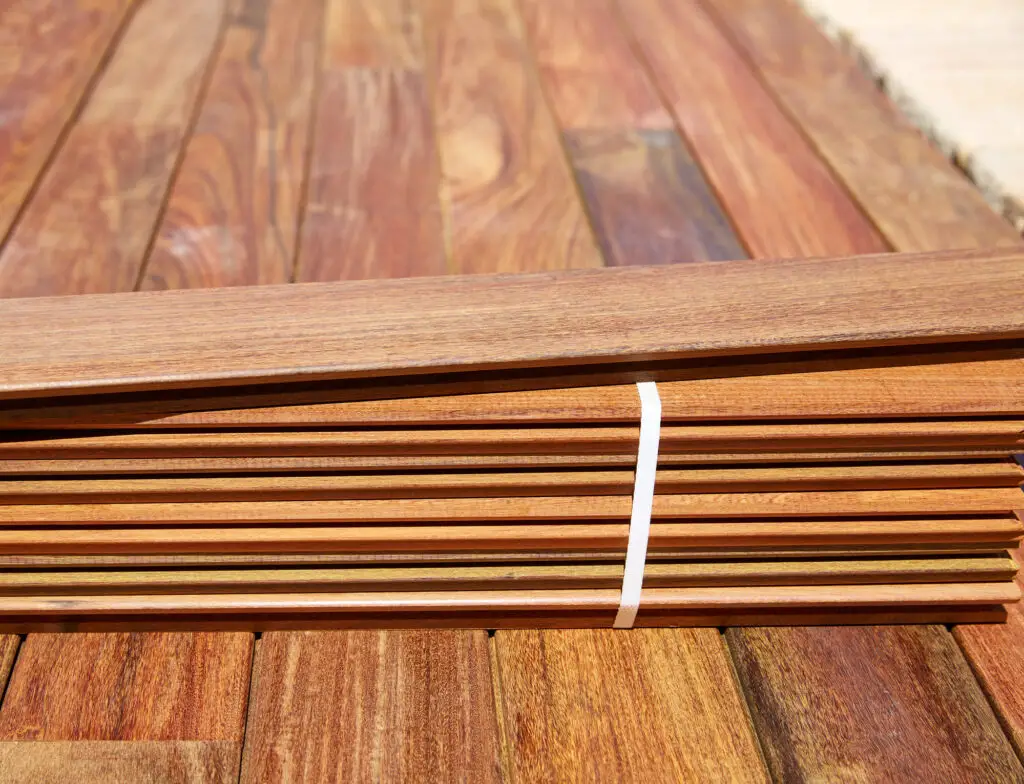
How to Finish Rough Sawn Oak
Kick things off by using low grit sandpaper on the rough wood before slowly progressing to finer grits. Once you sand down all the rough edges, you will then be able to actually apply the finish. While there are various finishes that you can use on top of the wood, some of the more popular ones are boiled linseed oil and polymerized tung oil. While they are both excellent products for finishing rough wood, linseed oil is cheaper but takes longer to dry, while tung oil is more expensive but offers water-resistant properties.
How to Use a Smoothing Plane
A smoothing plane is a tool specifically designed to create a smooth surface by running it along the wood. While the actual setup will vary depending on the wood you are working with, we can tell you how to handle the equipment properly to achieve a smooth finish.
First, get a firm and stable grip on the two handles of the smoothing plane. Being able to control the speed and movement of the plane is very important. It is this control that allows you to create a smooth finish. Also, be sure that you are sliding the tool along the grain of the wood. Remember that your goal is not to shave off large amounts of wood but to get the rough bumps and edges in line with the smooth portions.
Remember, the blade is kept sharp while also being in a level plane for even smoothing. This can be checked by holding the blade up against a flat piece of wood, where a consistent arc should be present.
Using a Router to Smooth Slabs of Wood
There is also a way to use a routing jig to smooth down the wood you are working with. First, measure rails according to the size of the wood you wish to smooth. You will need one on each side of the workpiece for this to be successful.
Next, fasten the piece to a bed or base piece of wood before mounting the rails to either side. Make sure that the grain of your wood is lined up in a way where the router can be moved along it from side to side.
The next step is to mount the actual router to a wood slab, which is purposed as a gantry. This will be what you use to smooth out your wood. By measuring appropriately and cutting ledges onto the edge of the gantry, you will also prevent the router from going too far and cutting into the guard rails on either side of the piece.
For the actual smoothing process, you grasp each end of the gantry before making slow and methodical movements along the grain of the wood.