How Much Does Green Oak Shrink? Green Oak Shrinkage

Does green oak shrink? For woodworkers using green oak as material for a project, one of the factors you may have to keep in mind is just how much the wood will shrink over time. In this article, we will be going over this topic in-depth, including dealing with and possibly preventing excessive shrinking. 

As for those who would like a quick answer, we have it right here: Green oak can have some of the highest shrinkage levels of timber. While green oak can shrink heavily in width, it will never shrink in length. 

Factors for how much shrinkage will occur include but aren’t limited to: 

  • How long the wood has been cut
  • The cut of the lumber
  • The environment it is used in

What is Green Oak?

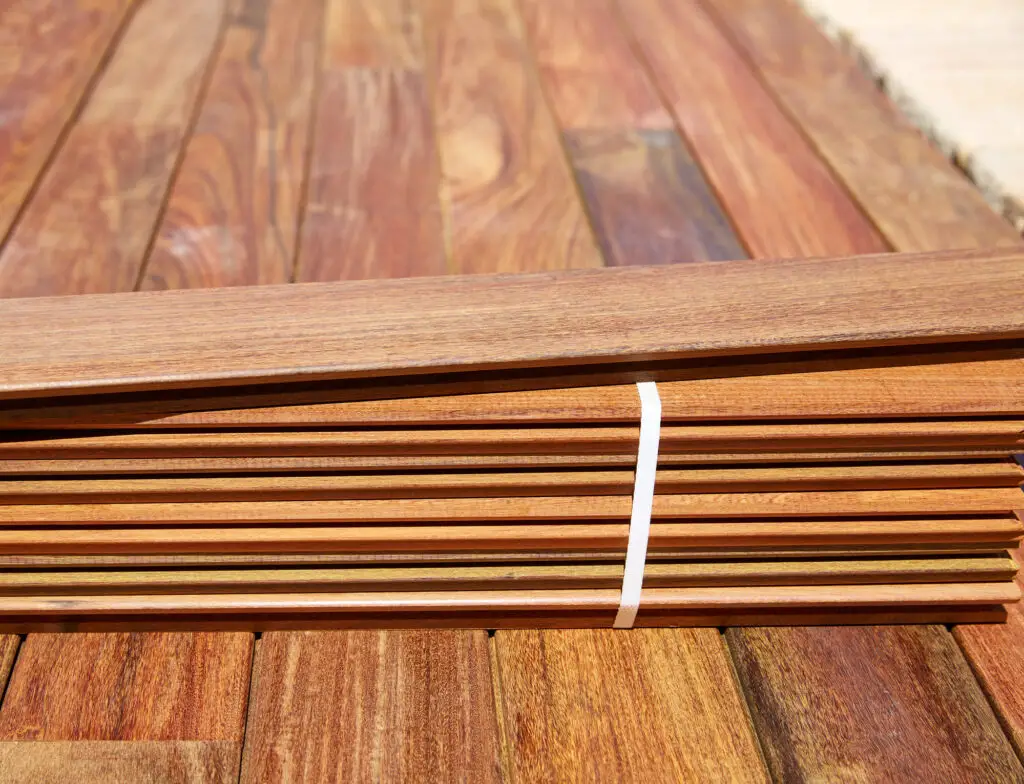
Green oak isn’t oak that is green in color, but a term used to describe oak wood that has been cut from a tree in between three and eighteen months after it has been felled. Otherwise known as freshly sawn oak, the green in the name simply refers to its freshness and not having a green color or tone.

Unlike some other words, there are also no preservatives or different treatments applied to the wood once it has been cut.

What Can Green Oak Be Used For?

While green oak can be used for various woodworking projects, it is most notably used in oak framed buildings as it is stronger and more durable than other types of oak wood.

In addition, green oak is also much easier to season, cut, and shape than its other oak counterparts.

How Much Does Green Oak Shrink?

While there is no exact way to predict how much a piece of green oak will shrink, the average amount of shrinkage is around twelve to thirteen percent of the wood. Another important note: wood will only shrink width-wise and not by length.
However, these values are bound to change depending on the moisture content of the wood and the amount of time since the wood has been cut. If it has been several months since the wood has been cut, the amount of shrinkage may be considerably less than if the wood had been cut in a week or two’s time instead.

How Does Green Oak Shrink?

In most cases, a majority of green oak shrinks down when it dries. This is due to the moisture from the green oak leaving the wood, causing its physical properties to change.

When green oak shrinks, it only shrinks in width and never in length. That means that if you have green oak-built frames, you won’t have to worry about the wood falling out of their fittings or shifting in position.

How Long Can it Take for Green Oak to Dry?

The amount of time for green oak to dry will depend on the size of the wood, the drying method, and the amount of water content within the wood. However, per one year of natural drying, you can expect the wood to dry around one inch of thickness, along with 4.5% shrinkage on the radius.

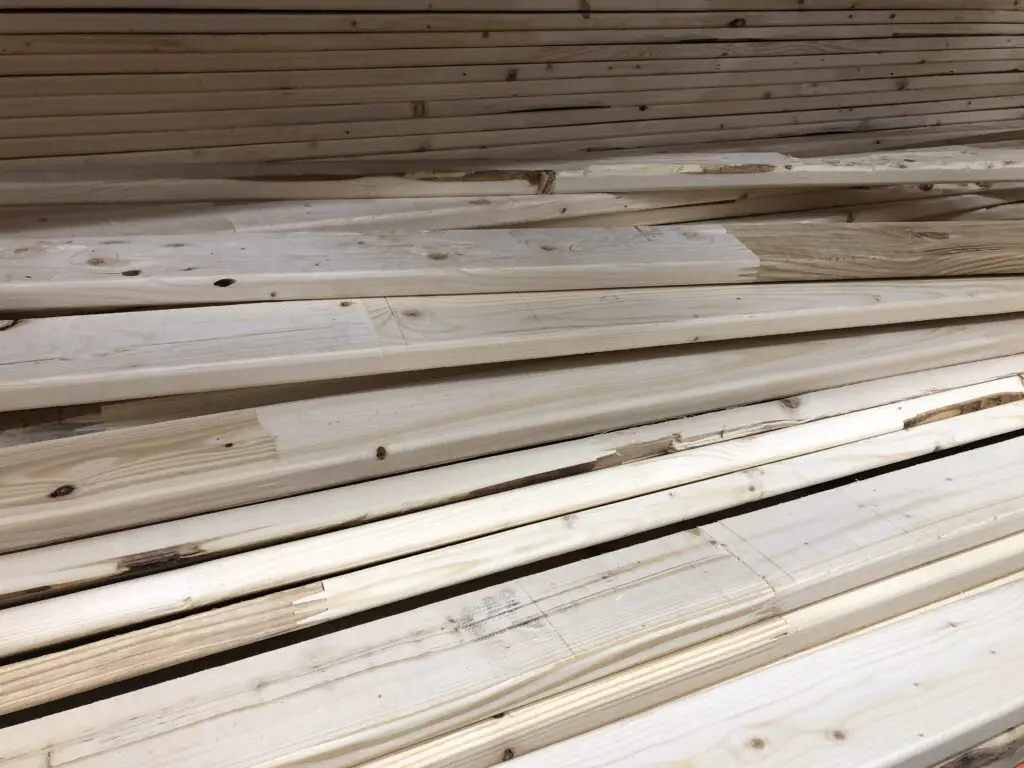
What are Different ways to Dry Green Oak?

There are several methods to help accelerate the drying process for green oak. These include but aren’t limited to: 

  • Unassisted Drying: The hands-off way of drying leaves the green oak alone and allows it to expel its water contents naturally. The process is rather extensive, and there is a high chance of shrinkage as well. 
  • Kiln Drying: This process involves stacking the wood on top of each other in a sealed container or airtight location before using a heat source to draw out the moisture from within the wood. This can be done with various heat sources, whether natural or creative, such as gas or sunlight. 
  • Air Drying: Similarly to kiln drying, the green oak is stacked on top of each other with thin objects between each piece to maximize exposure. A constant flow of air is needed to circulate through and around the wood to ensure consistent and stable drying. This is best done in a cool and shaded area away from any outside forces or interference. 

What are Some Results of Green Oak Shrinking?

There are several results of green oak shrinking. These include but aren’t limited to: 

  • Drying
  • Splitting
  • Warping or bending 

Regardless of the effects or how the wood shrinks, you can expect the final product of whatever you make to have some physical changes if you construct it using green oak. Even cut lengthwise green oak can still shrink

What is an Excellent Alternative to Using Green Oak Wood?

An excellent alternative to green oak is dried oak. While it is still oak, dried oak will not go through the warping and shrinking process that green oak goes through, ensuring a more stable development and lifespan for your project.


Miter Saw Cutting Brass and Copper Pipe

A miter saw is a piece of equipment you can use to cut numerous materials with ease. The saw has versatile uses, and you can adjust it to perform a specified function.

Nevertheless, miter saws are manufactured to cut composites and wood.

Using a Miter Saw to Cut Copper

Copper is the most common material used to make water pipes. Moreover, it is also used to make drains and waste pipes. Most copper pipes have either ¾ or ½ inch diameter.

In case there is construction taking place or any form of repairs, you are likely going to cut copper pipes. One of the most common pieces of equipment construction hobbyists have is a miter saw.

Since it is a substantial piece of equipment, one will get tempted to cut copper.
It is possible to cut copper using a miter saw. But, you may not get perfect results.

Moreover, I would not recommend the use of a miter saw to cut dozens of copper pipes. It is not possible to keep up the production using a miter saw.

More importantly, copper will wear down the miter saw. In case you use a miter saw to cut non-wooden materials, it will wear out with no time.

How to Cut Copper With a Miter Saw

If you have decided to use a miter saw to cut copper, you should proceed with caution. Copper is softer than wood. Considering that a miter saw is designed to cut wood, you will have an easier time cutting wood than cutting copper.

Therefore, you should proceed slowly and, at the same time, ensure that you are holding the copper tightly to avoid accidents.

Additionally, I would recommend that if the motor is open, use a piece of cloth to cover it to protect the windings and bearings.

Failure to this, the motor can collect some copper chips in the cutting process.

After you are through, I would also recommend that you recall removing the piece of cloth before you resume your usual activity, which is probably cutting wood. If you fail to remove the piece of cloth, the motor will overheat.

Moreover, you can also trap the copper using a wood backer to protect yourself from flying copper shards. Moreover, this will help you hold the metal in place while cutting.

I recommend you do this when you are cutting thin copper pipes. If you do not use the backing board, the saw’s blade will likely get stuck on the metal, destroying it or distorting it.

Why Cut Copper With a Miter Saw?

As highlighted earlier, copper contains a ductile material. Therefore, it is often used in the manufacturing of pipes and tubes.

The problem is it is hard to have a collection of tools in your house. In that case, you are likely going to use a miter saw to cut the copper.

In most cases, you will succeed in cutting copper using a miter saw, but you may end up destroying the saw.

If what you are working on is not an emergency, it is a good idea to get the equipment recommended for cutting copper.

What Kind of Saw Do You Recommend to Use for Cutting Copper

Any moment you intend to join sections of copper pipes, you have to cut them using an appropriate length.

Ideally, I would recommend you use a chop saw that has an abrasive wheel to cut copper. Such a piece of equipment will offer exceptional results and remain in good condition.

Here’s a really good video explaining in detail everything you might need to know about converting your miter saw to cutting metal, safely:

Using a Miter Saw to Cut Brass

Brass fittings can be cut with a miter saw

Brass is a metal that is made of both zinc and copper. In most cases, it is used in manufacturing electrical fittings and pipes.

As is the case with copper, you are likely to cut brass pipes when renovating a home. For various reasons. Most people who work on construction view brass as a multipurpose tool.

Therefore, using a miter saw to cut brass, a non-ferrous metal, is not a stray one.

It is possible to cut brass pipes using a miter saw, but you have to follow various rules to ensure that your cuts will be of high quality and the cutting process will be safe.

How to Cut Brass With a Miter Saw

It is not difficult to cut brass pipes with a miter designed to cut non-ferrous metal.

You can identify whether your saw is suitable for cutting non-ferrous metal by checking the label. I would also recommend that you read the safety precautions before you proceed to cut the pipe.

It is also a good idea to put on safety glasses and other safety clothing to protect yourself from unforeseen accidents.

More importantly, ensure that the motor housing is covered to prevent it from collecting brass chips. Cover it with a piece of cloth to protect the bearings and windings.

I would also advise that you use a sturdy vise for this type of job, when cutting brass.

After that, make cuts that are close to minimize vibrations. In case the tube is too thin, you can use a piece of wood to add extra support.

As a result, you will reduce the risk of the blade getting stuck on the pipe. If the saw gets stuck, it will destroy the brass pipe.

Before you switch on the power, ensure the saw’s guard is in good condition. And also, it is in the right position. Additionally, you can adjust the miter locks to make sure that your cuts will be accurate.

When working, ensure that you maintain the pressure consistently as you cut the pipe. After you have completed cutting, hold the miter saw down and release the power.

I would also recommend that you hold the tool still until the blade has stopped moving completely. Later you can return it to the upright position.

Cutting Brass With Miter Saw

As much as a miter saw can cut brass pipes, it’s also not the best because it will put more wear on the saw.

If you want your saw to offer you lengthy service, use it to cut wood only. For brass, go for tools designed to cut brass, such as a chop saw.

What Kind of Saw Do You Recommend to Use for Cutting Brass

The best tool to use when cutting a brass pipe is a chop saw manufactured with an abrasive wheel. But if you need a few pieces, you can cut brass using the miter saw.

But for high production, I would recommend using the right cutting blade made of non-ferrous metal.

A miter saw can cut either copper or brass pipes. But it is not recommended because the saw may wear out in the process. For effective results, it is good to get the right blade as a chop saw.