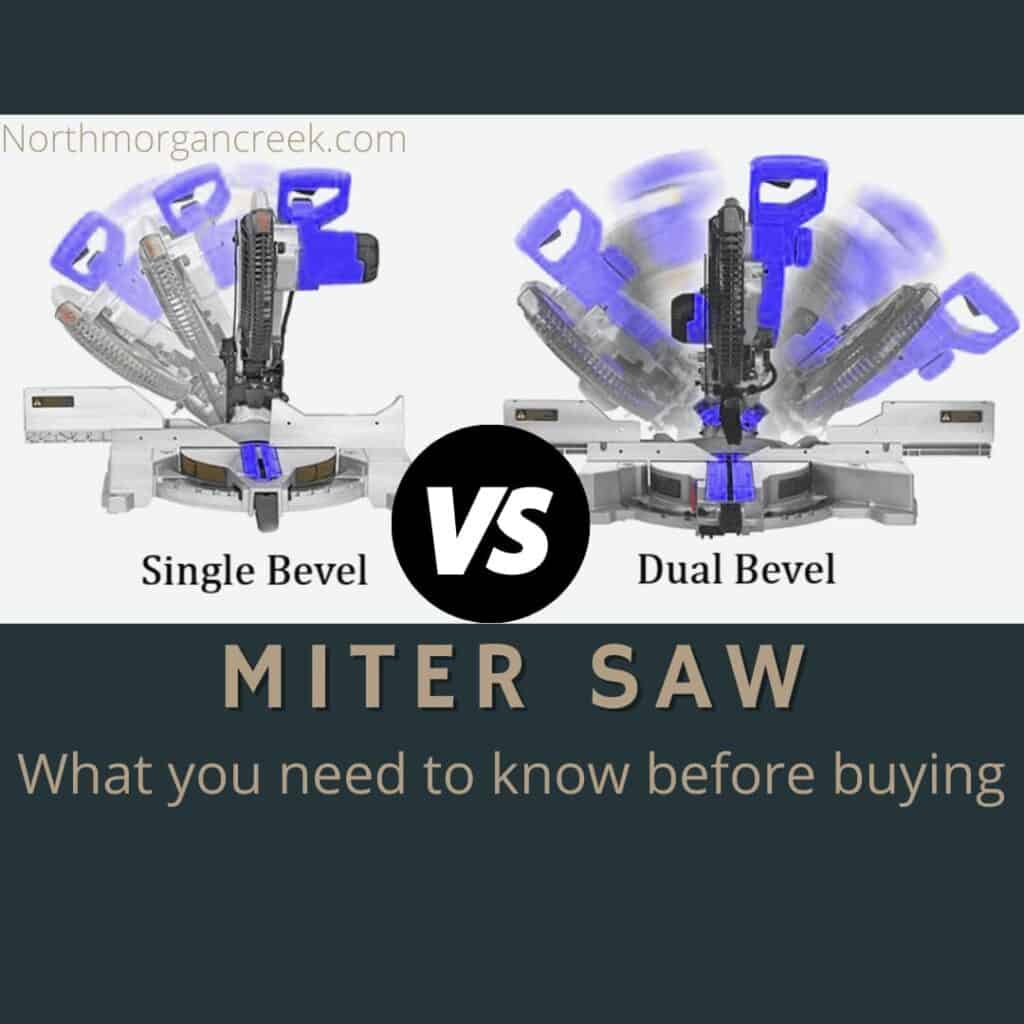
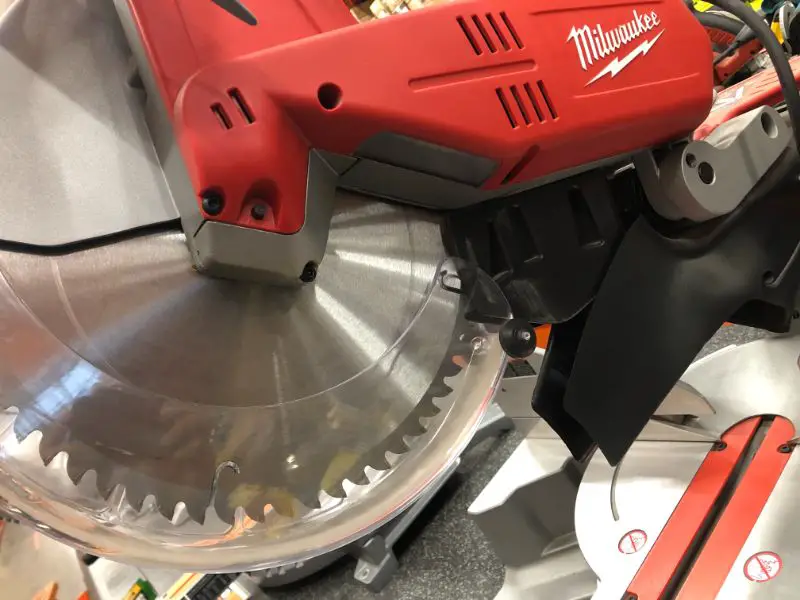
One of the most useful tools in a woodworker’s shop is the miter saw, but this particular power tool doesn’t handle small projects very well. The large fence opening around the blade can make handline smaller pieces of wood a bit of a struggle. Plus, safety can also be an issue as the small pieces of wood can get kicked out becoming a projectile in your workshop.
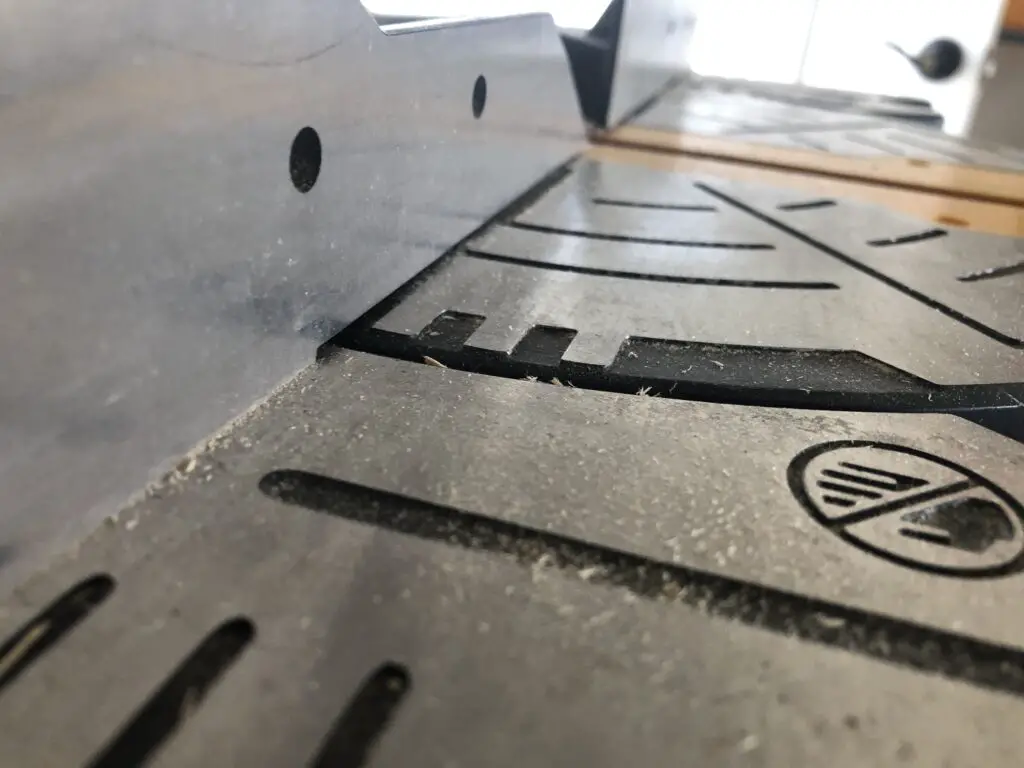
For this reason, many woodworkers turn to the zero-clearance miter saw fence. This secondary fence fits over the stock fence, and it creates a zero-clearance blade slot. A zero-clearance miter saw fence prevents your workpiece from being pulled into that large fence gap. Thus you end up with a safer and more accurate cut.
Now that you understand the need for a zero clearance miter saw fence, your next question will likely be on the construction of this added feature. One of the more common questions asked is the importance of the fence being perfectly flat.
The short answer to that question is that absolute perfection isn’t necessary, but it is important for the zero clearance miter saw fence to be flat. You do not want the material to rock while it is being cut, so you need the fence flat enough for the workpiece to remain stable. A sacrificial miter saw fence can be replaced quite easily, so if rocking becomes a problem, the fence should be replaced.
Zero Clearance Miter Saw Fences Lead to Positive Results
We’ve already mentioned the tendency of small pieces of wood turning into shop projectiles when the miter saw doesn’t have a zero clearance fence, but there are several other reasons a fence is a great idea.
You will get added support when you use a secondary fence making your work easier to manage. Plus, the back of the cut tearout is minimized. When you are working with a miter saw fence that is relatively flat, you are likely to see that your cuts are more accurate — especially the 90-degree straight cuts.
When using a sacrificial fence, you mark up the next cut or even make notes on the fence itself. This is especially helpful when you are working on complex angle cuts.
DIY Zero Clearance Miter Saw Fences
While you can probably find a zero clearance miter saw fence for sale at your local hardware store or in an internet shop, there are plenty of DIY tutorials available on YouTube to help you build your own. It is likely that you already have a bit of scrap wood lying about in your workshop that would be suitable.
Just be sure that your fence pieces are as flat as possible before attaching to your miter saw to ensure accuracy when cutting. Attaching your DIY fence may even be quite simple! Many miter saws will already have holes on the factory-installed fence for attaching your zero clearance fence. (If your miter saw does not have predrilled holes, you will need to drill those yourself.)
One thing to be aware of when attaching your zero clearance fence is the possibility of flex. In the center, at the opening of your factory fence, your DIY fence may flex a little back and forth. This happens if you use a wood that is too flimsy or the opening on the factory fence is especially wide. When pressing your workpiece against the DIY fence, any flexing that occurs could lead to an unsafe cut. Plus, the flex will also mean that your fence is no longer perfectly flat and square!
Using a harder wood, such as cherry, to create your zero clearance miter saw fence will decrease the amount of flex. Your dust collecting attachments may also lend extra support to your DIY fence depending on where they attach to your miter saw. Eliminating the flex will lead to safer and more accurate cuts, so it is important to address the issue.